Wrap Widget: Welcome to the world of Flutter, where widgets are the building blocks of your app’s UI. Today, we’re unwrapping the secrets of the Wrap widget, an essential tool for creating fluid and adaptive layouts that can wrap their content in multiple directions based on the available space.
Understanding the Wrap Widget
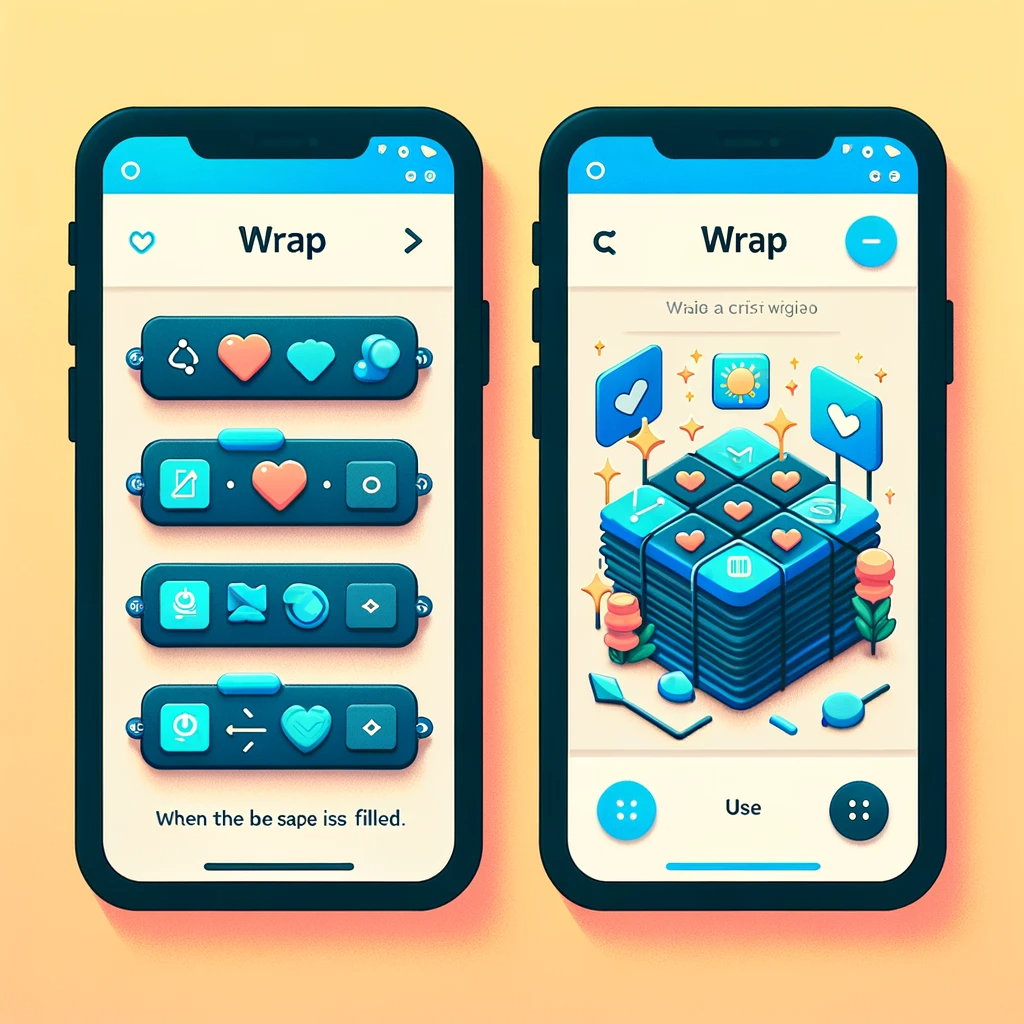
The Wrap widget is a multi-directional layout tool that positions its children in multiple horizontal or vertical runs. A sibling of the Row and Column widgets, Wrap shines in scenarios where the UI must adjust to various screen sizes and orientations, providing a responsive design without overflowing content.
The Basics of Using Wrap
Implementing a Wrap widget is similar to using a Row or Column. Here’s a quick example to illustrate its basic usage:
Wrap(
  spacing: 8.0, // gap between adjacent chips
  runSpacing: 4.0, // gap between lines
  children: <Widget>[
    Chip(label: Text('Chip 1')),
    Chip(label: Text('Chip 2')),
    // ...more chips
  ],
),
In this snippet, Chip widgets will be laid out horizontally and wrapped to the next line when the available space is filled.
Customizing Your Wrap Layout
Flutter’s Wrap widget comes with several properties to fine-tune your layout:
- direction: Choose between
Axis.horizontalandAxis.verticalto set the direction in which the children are placed. - alignment: Align the runs in the wrap layout similarly to how you would align items in a
RoworColumn. - spacing: Control the gap between the children within a run.
- runSpacing: Manage the gap between the runs themselves.
Responsive Design with Wrap
The Wrap widget inherently supports responsive design. As the app’s dimensions change, the Wrap adjusts by moving its children to the next line or column. This feature is particularly useful for apps that need to present collections of elements like tags, chips, or buttons that can vary in number.
Use Cases for Wrap
- Tag clouds where the number of tags can change dynamically.
- Photo galleries where the number of images per row should respond to screen size.
- Button groups where buttons need to remain accessible on different devices.
Best Practices When Using Wrap
To ensure your Wrap widget performs at its best, consider the following:
- Use
Wrapwhen you expect the content to overflow and require a flexible layout. - Be mindful of the
spacingandrunSpacingmaintain a clean UI. - Combine
Wrapwith padding and alignment for a polished look.
Conclusion
The Flutter Wrap widget is a versatile layout tool for creating dynamic and adaptive interfaces. Whether you’re building a social media platform, a shopping app, or a productivity tool, the Wrap widget can handle your content with grace.
More Topics:
Mastering the Flutter Row Widget: A Comprehensive Guide
Understanding the Flutter Column Widget: A Comprehensive Guide
Master Flutter ListView Widgets: A Step-by-Step Visual Guide
Flutter: A Deep Dive into the Container Widget with Examples


