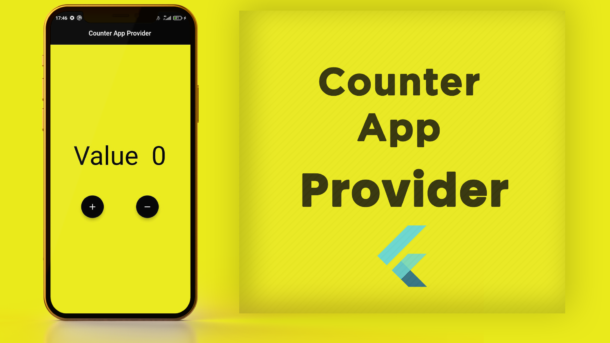
In this article, we will learn how can we make a simple flutter counter app with provider State Management. A counter app is an application in which we can increase or decrease a value by pressing the buttons. An example of this is when we create a flutter application then you see a default flutter application on your screen. So, that is also an example of a counter app.
In this application, we will design a screen in the flutter framework by using the Dart programming language and will increase or decrease the value by initializing the increase and decrease value function inside Change Notifier. In the center, we will show a number that will be updated by pressing the buttons of add or subtract.
Let’s start the work:
First, build a flutter application and write the name of your own choice. Create a dart file with the name main_screen.dart. Also, create a folder inside the lib folder with the providers’ names, and inside create a dart file the name will be counter_provider.dart. Then call this main_screen in the MyApp.
Files should be like this:

main.dart file code will be like this:
import 'main_screen.dart';
import 'providers/counter_provider.dart';

void main() {
  runApp(const MyApp());
}

class MyApp extends StatelessWidget {
  const MyApp({Key? key}) : super(key: key);

  // This widget is the root of your application.
  @override
  Widget build(BuildContext context) {
    return MultiProvider(
      providers: [
        ChangeNotifierProvider(create: (_) => CounterProvider()),
      ],
      child: MaterialApp(
        debugShowCheckedModeBanner: false,
        title: 'Counter App Provider',
        theme: ThemeData(
          primarySwatch: Colors.blue,
        ),
        home: const MainScreen(),
      ),
    );
  }
}
counter_provider.dart file will be:
import 'package:flutter/foundation.dart';

class CounterProvider extends ChangeNotifier {

  int _countVal = 0;

  int get countVal => _countVal;

  void add() {
    _countVal++;
    notifyListeners();
  }

  void subtract() {
    _countVal--;
    notifyListeners();
  }

}
main_screen.dart file code will be:
import 'package:flutter/material.dart';
import 'package:provider/provider.dart';

import 'providers/counter_provider.dart';

class MainScreen extends StatefulWidget {
  const MainScreen({Key? key}) : super(key: key);

  @override
  State<MainScreen> createState() => _MainScreenState();
}

class _MainScreenState extends State<MainScreen> {
  @override
  Widget build(BuildContext context) {
    return Scaffold(
      backgroundColor: const Color(0xffeaea1b),

      /// appbar
      appBar: AppBar(
        backgroundColor: Colors.black,
        elevation: 0.0,
        centerTitle: true,
        title: const Text(
          'Counter App Provider',
          style: TextStyle(
            fontSize: 20.0,
            color: Colors.white,
          ),
        ),
      ),

      /// body
      body: SizedBox(
        height: MediaQuery.of(context).size.height,
        width: MediaQuery.of(context).size.width,
        child: Column(
          crossAxisAlignment: CrossAxisAlignment.center,
          mainAxisAlignment: MainAxisAlignment.center,
          children: [
            Consumer<CounterProvider>(builder: (context, value, child) {
              return Text(
                'Value  ${value.countVal.toString()}',
                style: const TextStyle(
                  fontSize: 80.0,
                  color: Colors.black,
                ),
              );
            }),
            const SizedBox(height: 60.0),
            Consumer<CounterProvider>(builder: (context, value, child){
              return Row(
                crossAxisAlignment: CrossAxisAlignment.center,
                mainAxisAlignment: MainAxisAlignment.center,
                children: [
                  FloatingActionButton(
                    onPressed: () {
                      value.add();
                    },
                    backgroundColor: Colors.black,
                    child: const Icon(
                      Icons.add,
                      color: Colors.white,
                    ),
                  ),
                  const SizedBox(width: 80.0),
                  FloatingActionButton(
                    onPressed: () {
                      value.subtract();
                    },
                    backgroundColor: Colors.black,
                    child: const Icon(
                      Icons.remove,
                      color: Colors.white,
                    ),
                  ),
                ],
              );
            }),
          ],
        ),
      ),
    );
  }
}
The output of the flutter counter app
GitHub Link
https://github.com/flutter99/flutter_counter_app_provider
Related Articles
How to make counter app with setState in Flutter
How to make counter app with GetX
How to make custom gradient buttons in Flutter
Flutter UI, Splash Screen, Login, Signup and Forgot Password


3 Responses
[…] How to make a flutter counter app with the provider? […]
[…] How to make a flutter counter app with the provider? […]
[…] How to make a flutter counter app with the provider? […]